Power Up
Next, we'll cover unboxing the device, powering it on, and connecting it to your computer.
Step 1: Unbox the device
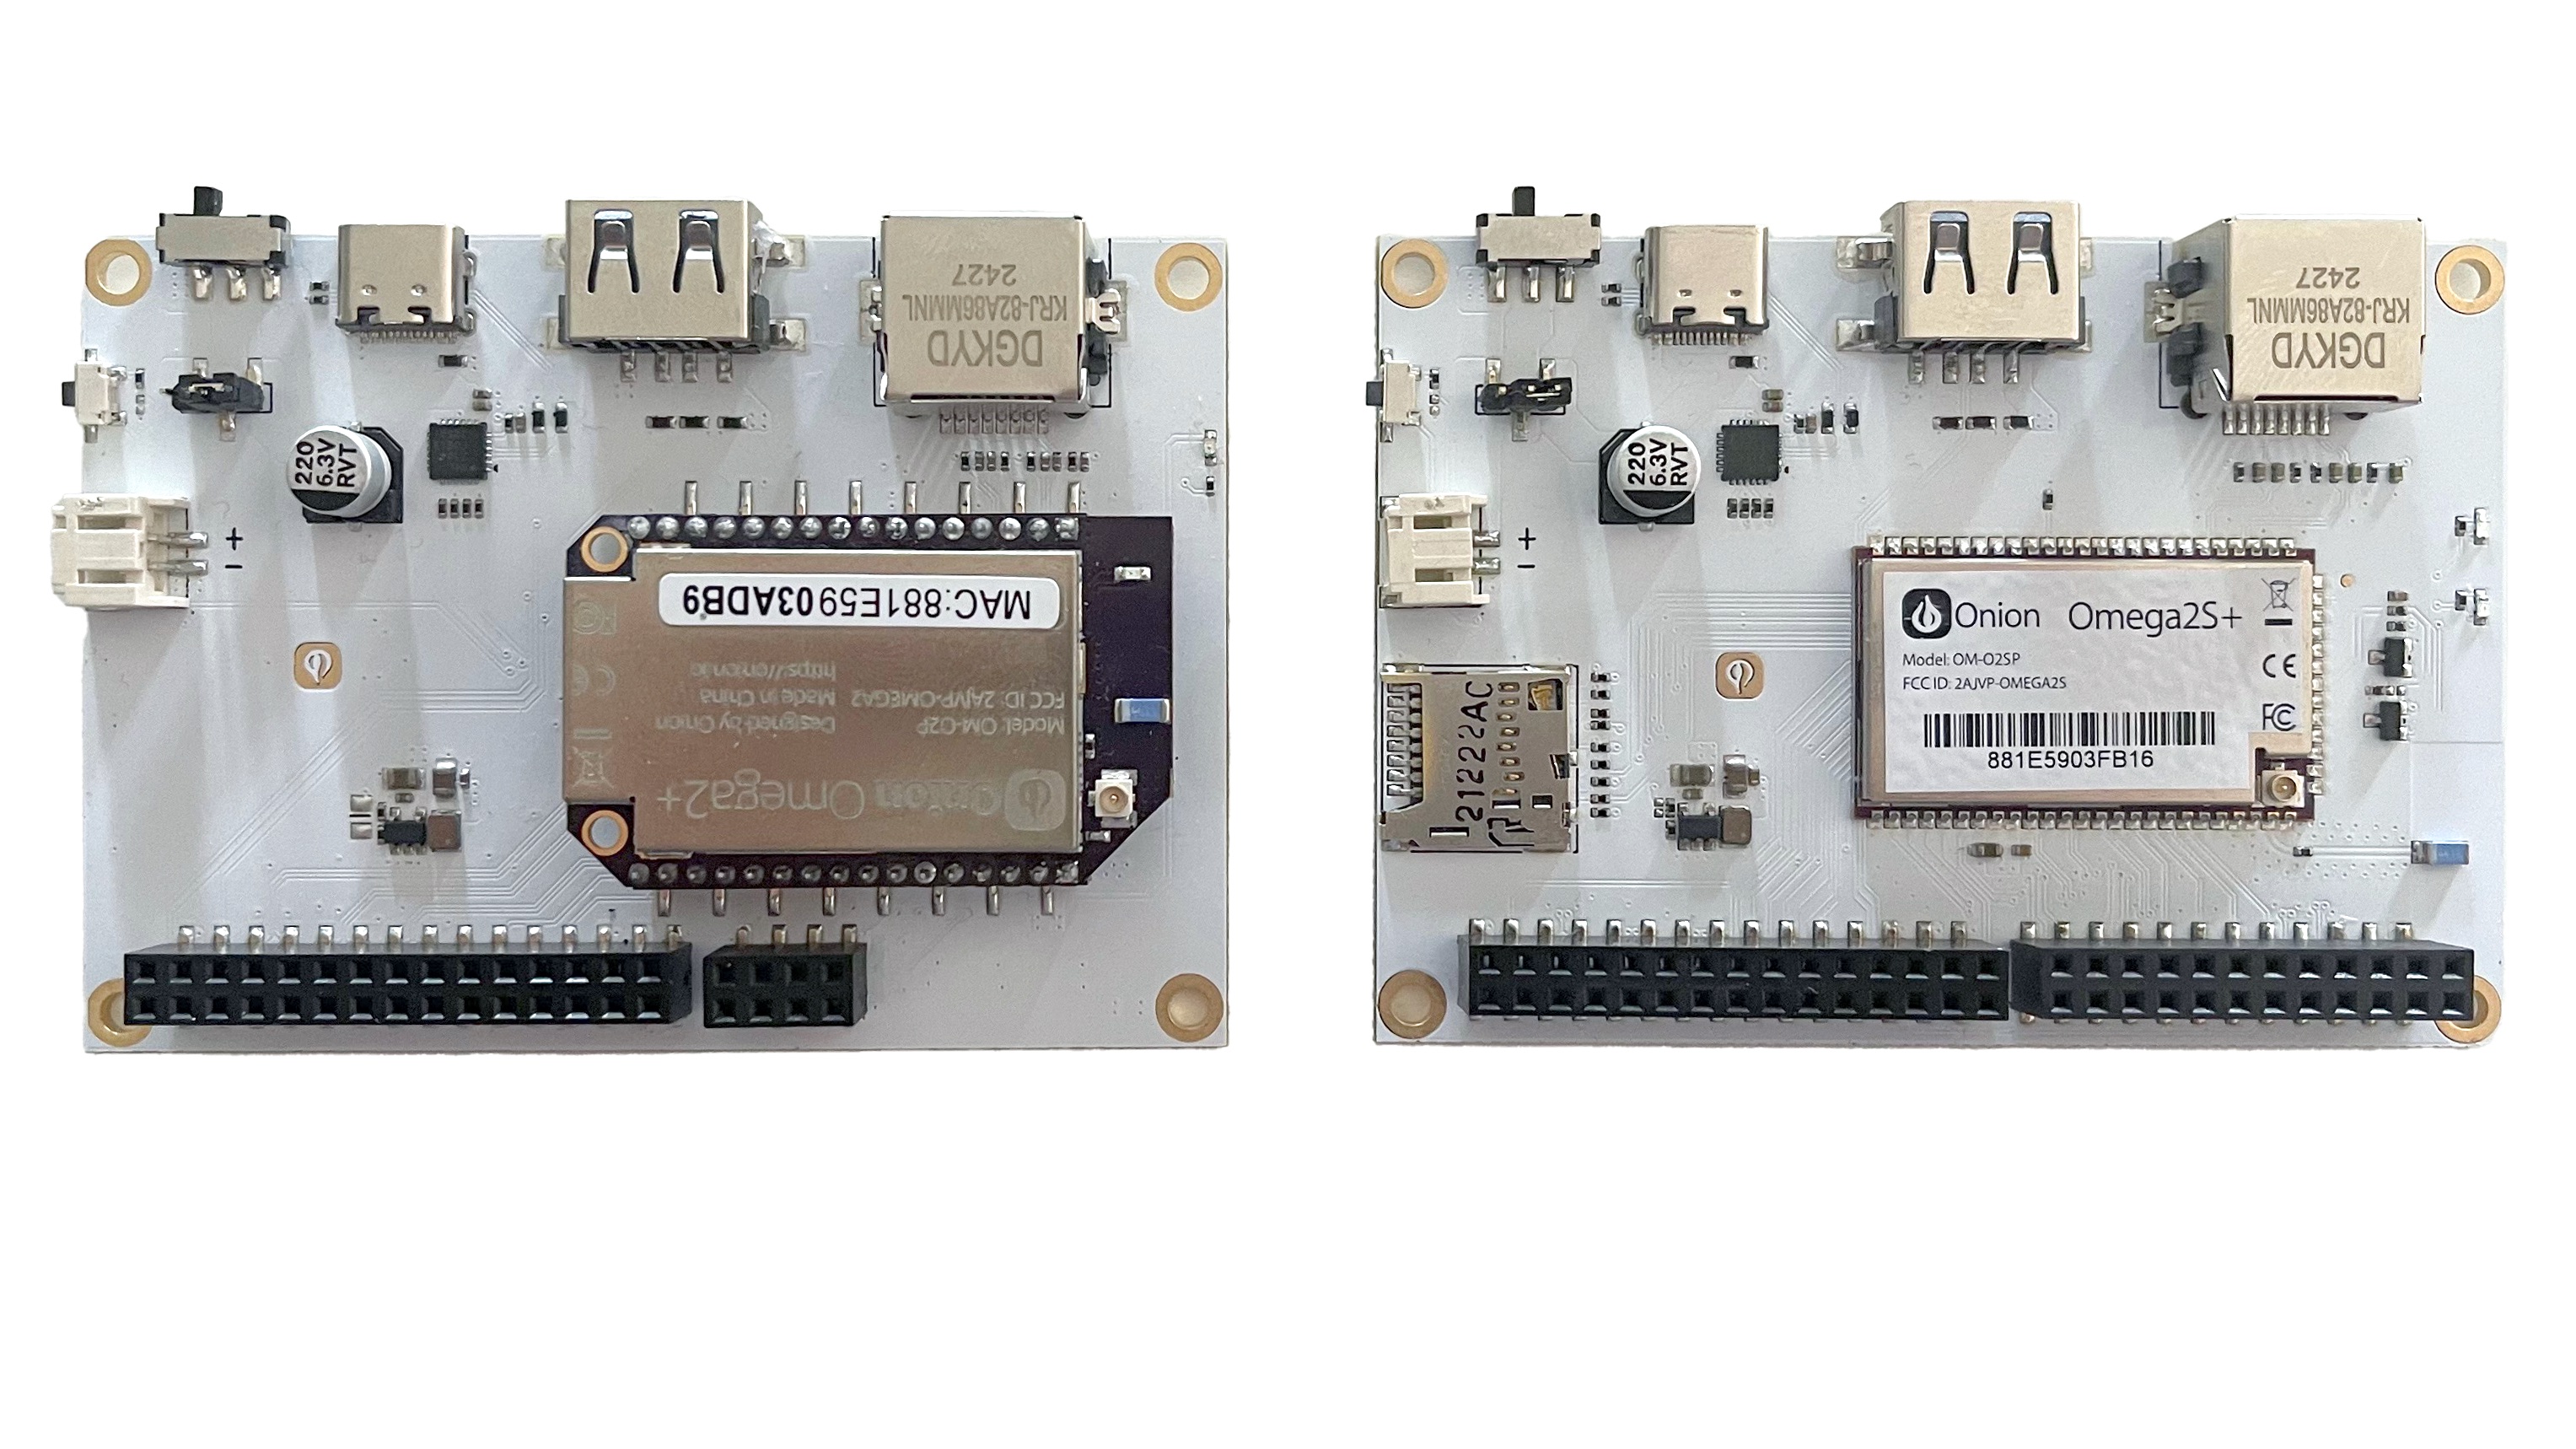
Unpack your Omega2 Eval Board

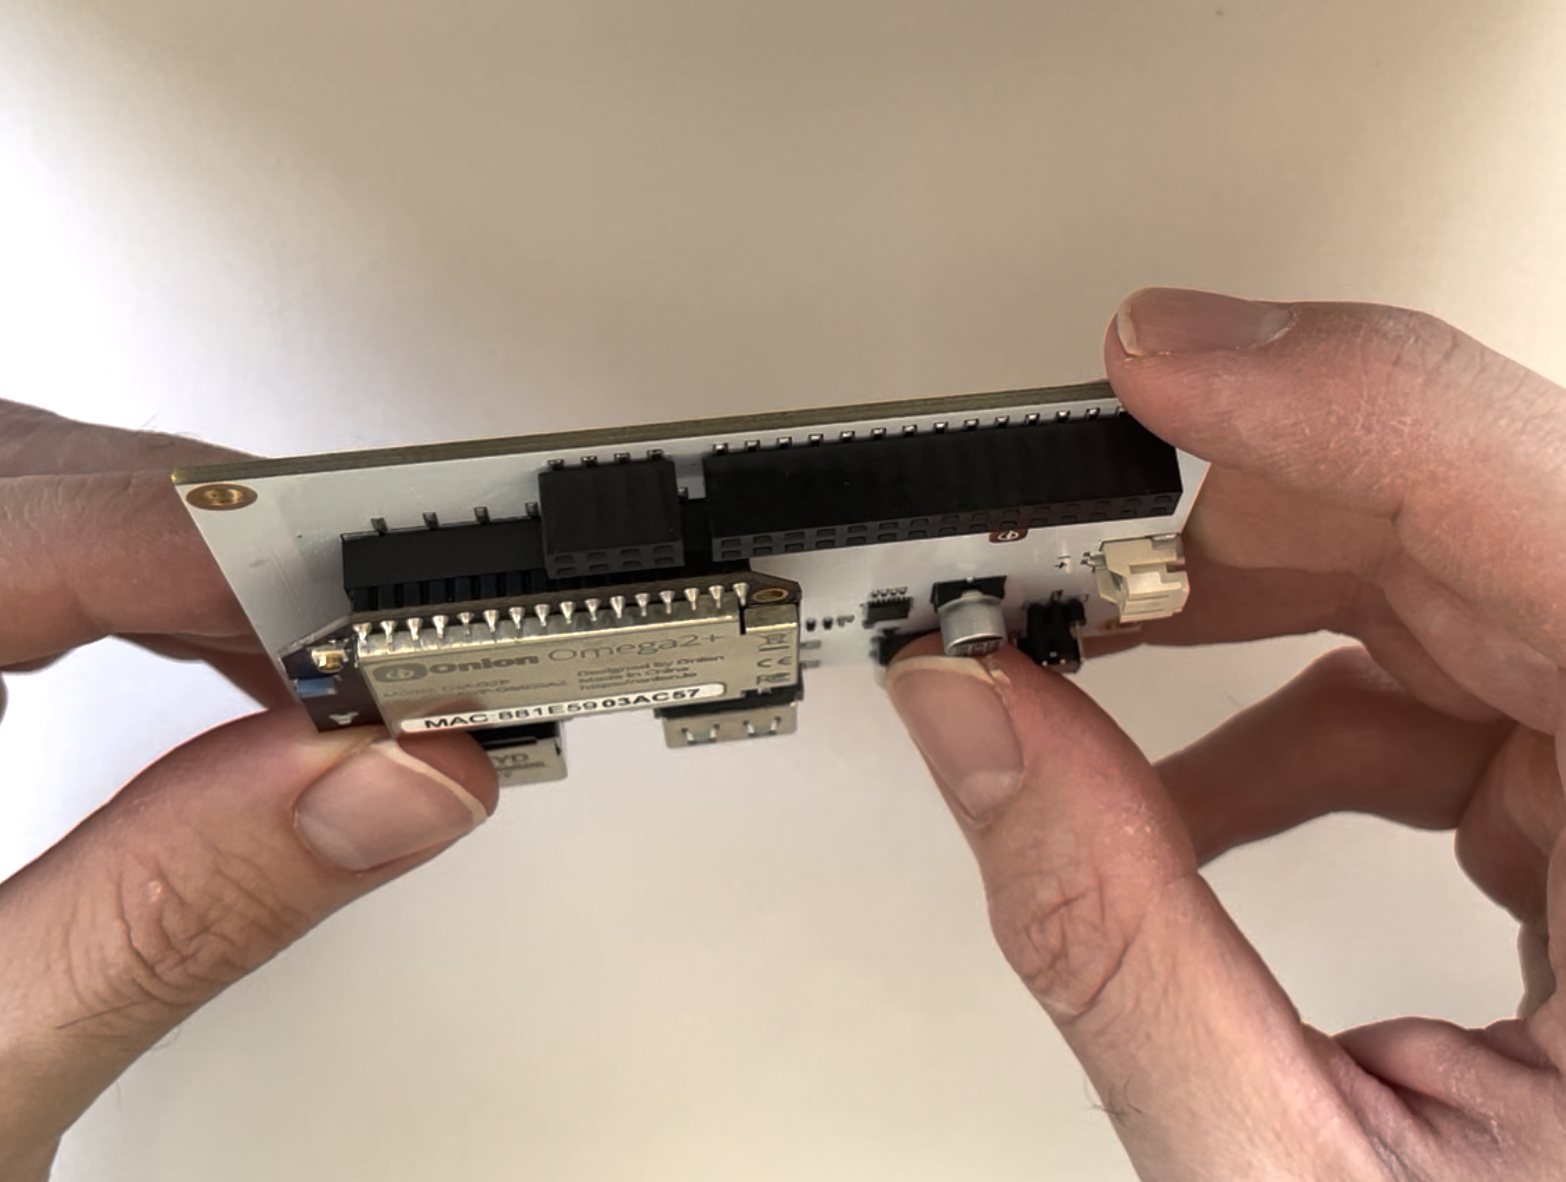
Ensure the Omega is plugged in to the Eval Board
Through-hole Omega2 only
Make sure the Omega2 is plugged into the socket on the Eval Board and the Omega's pins are securely seated in the socket.

On the Omega2S Eval Board, the surface-mount Omega2S module is soldered down to the Eval Board, so this step is not necessary.
Step 2: Connect the Eval Board to a computer
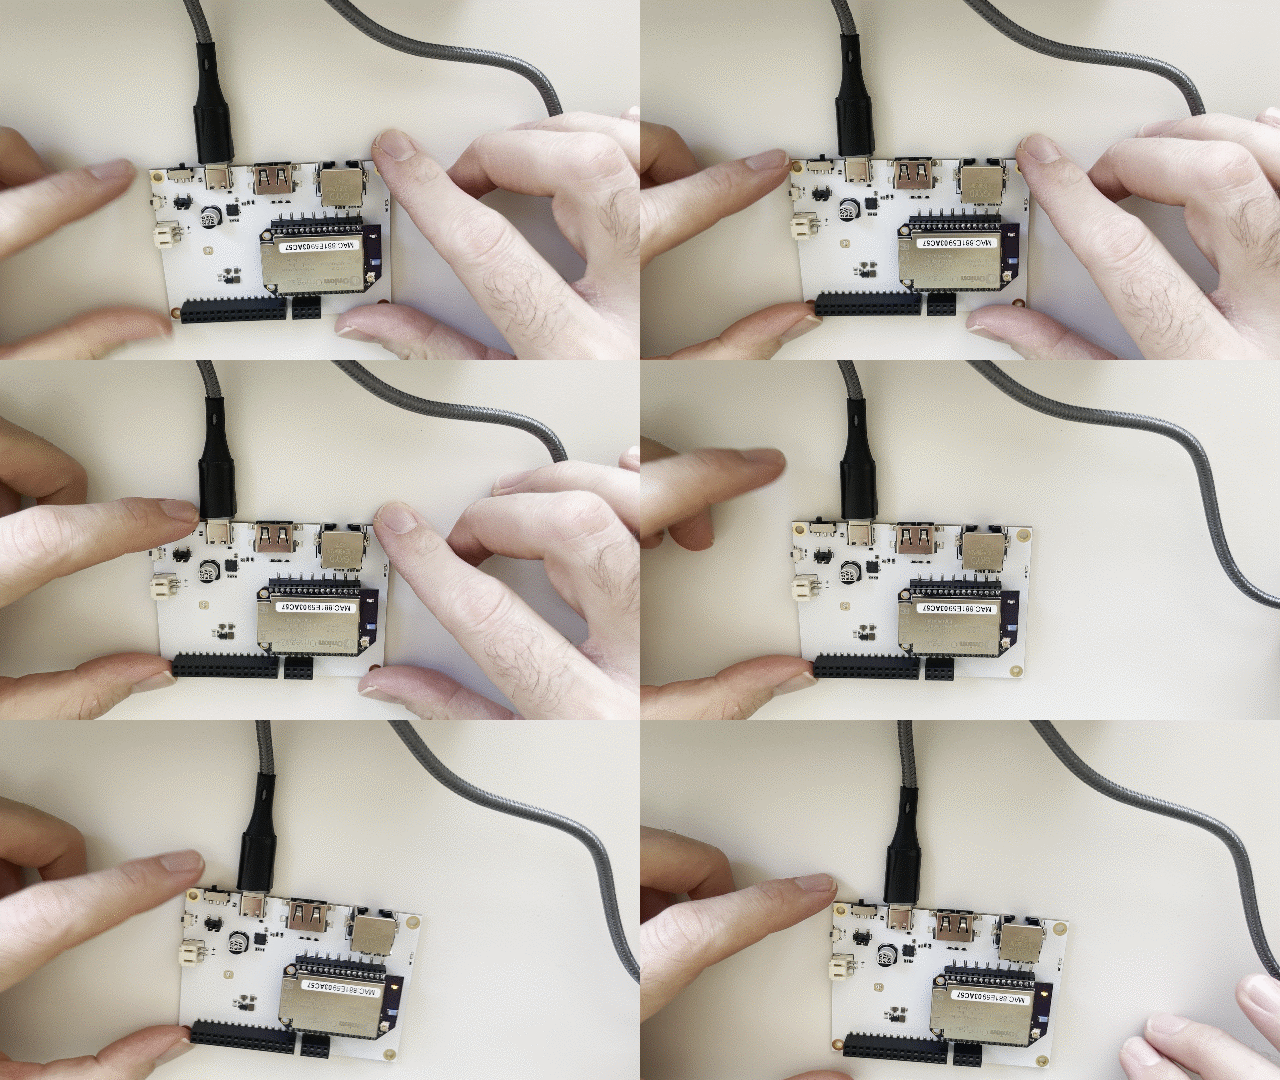
Plug the USB cable into the USB-C port on the Omega2 Eval Board and connect the other end to a USB port on your computer. This provides power to the Omega as well as a connection with Omega2’s command line.
The Omega2 Eval Boards have voltage regulators so the USB port can power the Omega2 with the required 3.3Vdc.
Step 3: Power on
Turn on your Omega2 using the switch.

Wait until it boots
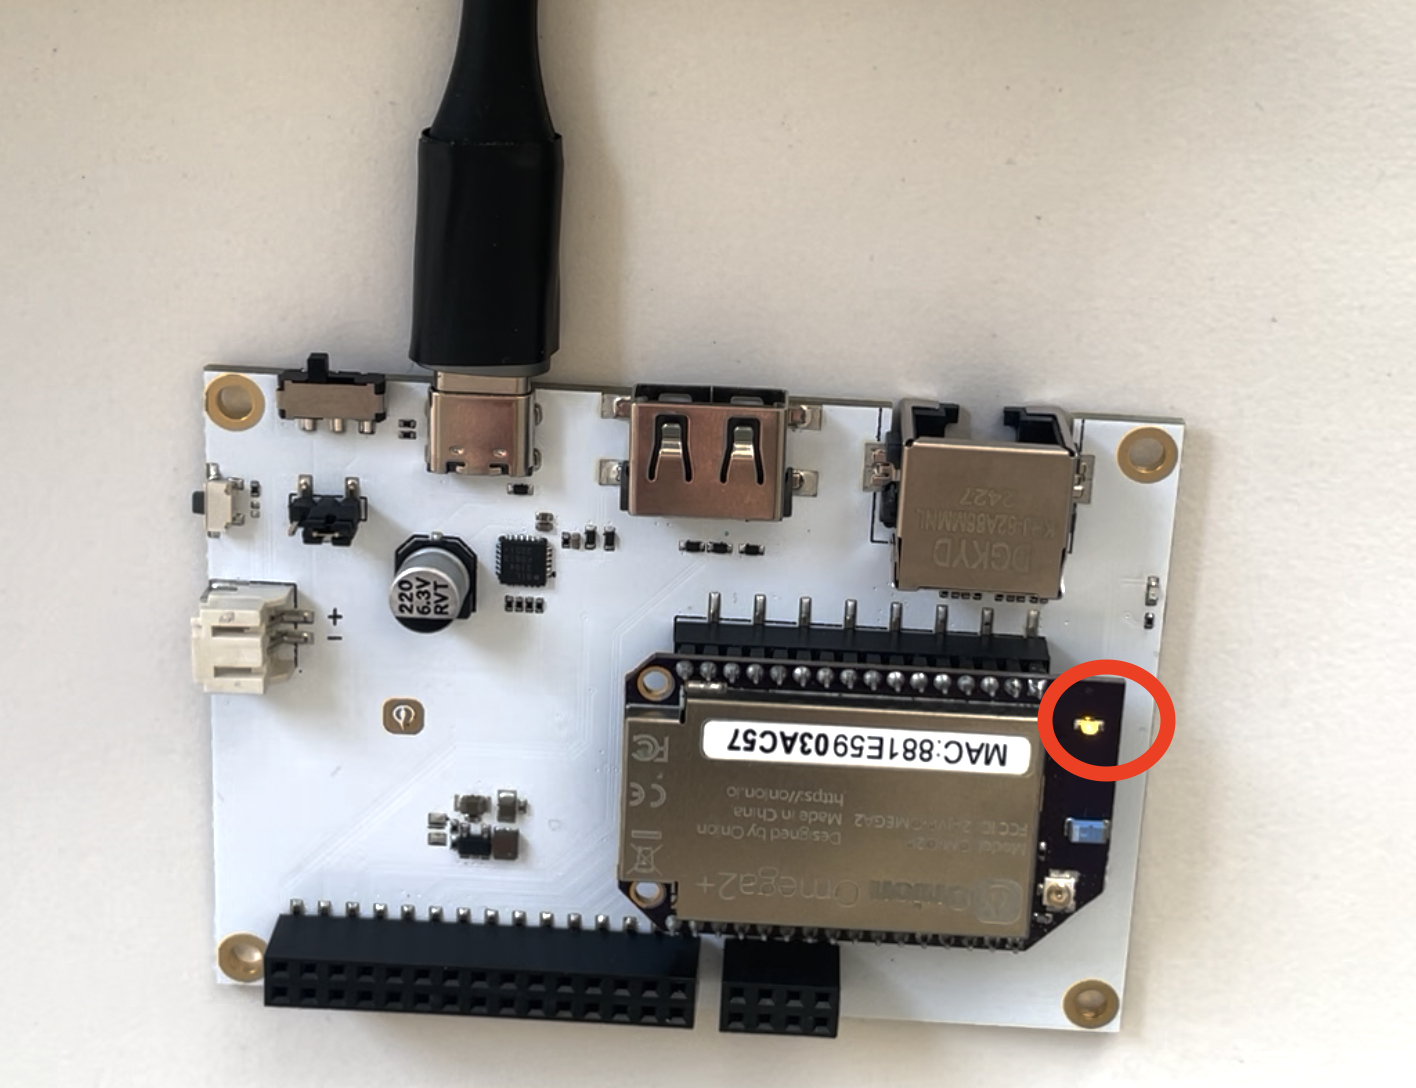
The amber LED on your Omega2 should turn on and start blinking after a few seconds. The LED will stop blinking and remain solid after about a minutes. This means your Omega2 has completed its boot sequence.

Congratulations, your Omega2 is now powered up and you're ready to further explore your device.