Connecting with SSH
This article is not a required part of the Quickstart, but illustrates the procedure of connecting to the Omega using SSH.
Connecting to your Omega2 over SSH (Secure Shell) lets you interact with the device’s Linux command line from any computer on the same network. No USB-to-serial hardware required.
Before You Start
SSH creates an encrypted command-line session between two computers: your PC (the client) and the Omega (the server).
Make sure both devices are on the same LAN segment—either through the same Wi-Fi access point, Ethernet switch, or the Omega’s own AP mode.
Pros & Cons
Pros
- Works wirelessly—nothing to plug in once the Omega is powered and connected to the same network.
- Multiple simultaneous sessions are possible.
- Supports file transfers with SCP/SFTP.
Cons
- If the network drops, your SSH session ends immediately.
- Requires the Omega’s IP address or hostname.
Finding the Omega’s IP Address
Follow the steps in the Find the Omega’s IP Address guide.
Finding the Omega’s Hostname
Every Omega advertises a unique hostname in the form omega-XXXX.local, where XXXX are the last four characters of its MAC address.
You can find the MAC on the module’s label or by running ifconfig from a serial console.
Procedure
You will need:
- An Omega2 that is powered on and connected to the network.
- The Omega's IP address or hostname
- The default login credentials:
- username:
root - password:
onioneer
- username:
- A host computer to use to connect to the Omega
Select the host computer operating system below for the relevant instructions:
- macOS
- Linux
- Windows PowerShell
- Windows PuTTY
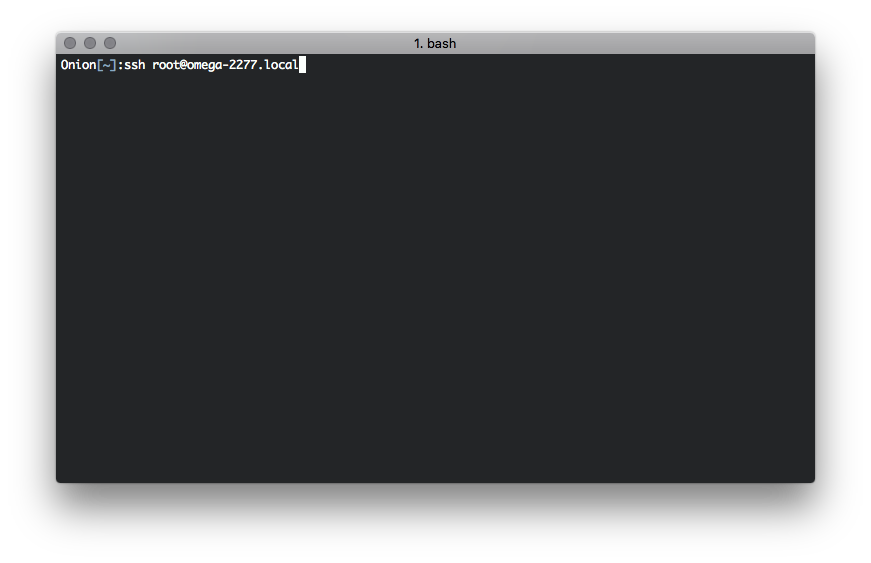
Step 1: Open Terminal
Open the Terminal application found in Applications → Utilities.
Step 2: Connect over SSH
Run the following command:
ssh root@HOST
Replace HOST with the Omega’s hostname (omega-XXXX.local) or its IP address.
Step 3: Enter Password
When prompted, enter the password.
By default, the password is: onioneer
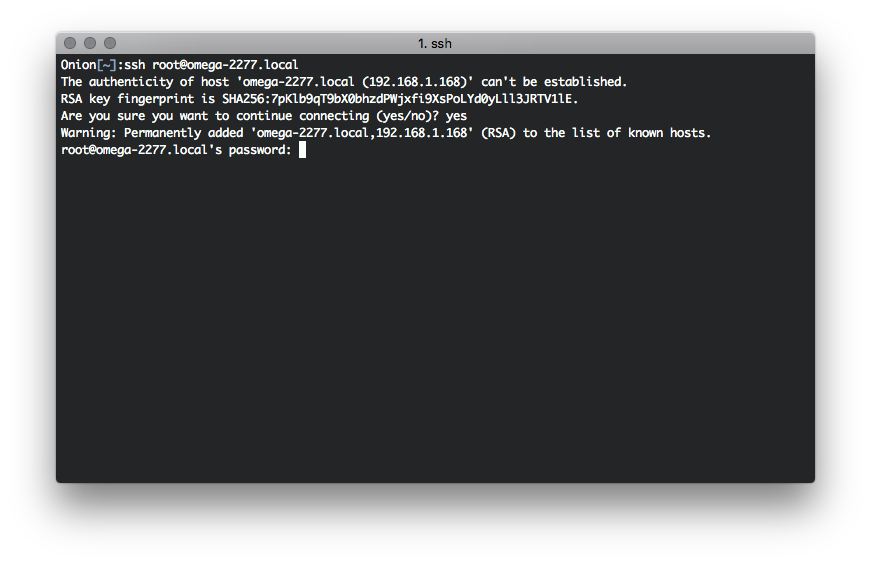
If prompted with a message saying
The authenticity of host … can’t be established. Are you sure you want to continue connecting (yes/no)?Type
yesand press Enter.This adds the Omega’s fingerprint to the
~/.ssh/known_hostsfile on your computer so future connections are verified.
Step 4: Verify connection
The Omega terminal will show the welcome banner:

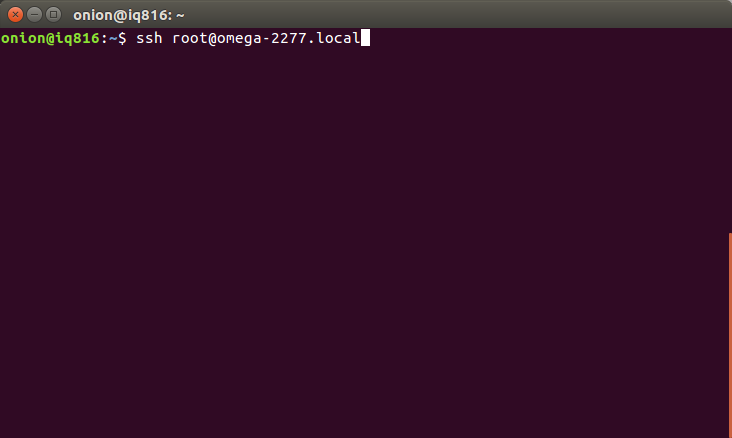
Step 1: Open a Terminal
Launch your preferred terminal emulator (e.g. GNOME Terminal, Konsole, xterm).
Step 2: Connect over SSH
Run the following command:
ssh root@HOST
Replace HOST with the Omega’s hostname (omega-XXXX.local) or its IP address.
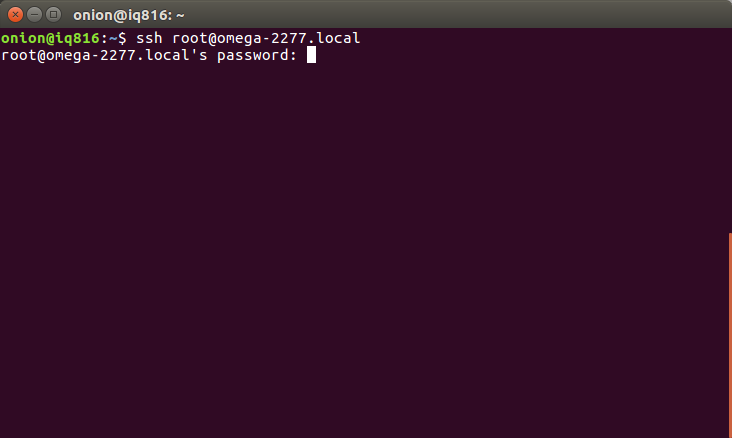
Step 3: Enter Password
When prompted, enter the password.
By default, the password is: onioneer
If prompted with a message saying
The authenticity of host … can’t be established. Are you sure you want to continue connecting (yes/no)?Type
yesand press Enter.This adds the Omega’s fingerprint to the
~/.ssh/known_hostsfile on your computer so future connections are verified.
Step 4: Verify connection
The Omega terminal will show the welcome banner:

Step 1: Open PowerShell
Open PowerShell (Windows 10/11 include OpenSSH by default).
Step 2: Connect over SSH
Run the following command:
ssh root@HOST
Replace HOST with the Omega’s hostname or IP.
Step 3: Enter Password
When prompted, enter the password.
By default, the password is: onioneer
If a security prompt warns about a new host key, type
yesand press Enter.
Step 4: Verify the Connection
The Omega shell appears:
root@Omega-XXXX:~#
Step 1: Install PuTTY
Go to http://www.putty.org/ and download the Windows installer specific to your machine.
Step 2: Open PuTTY
Launch PuTTY.exe
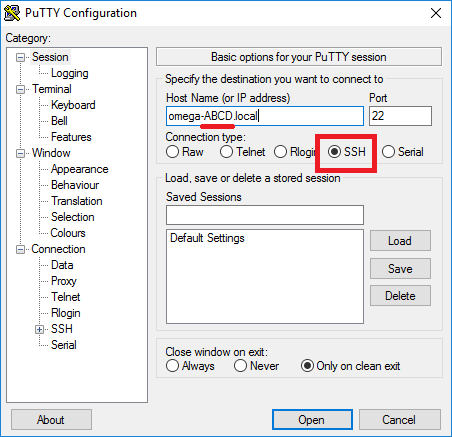
Step 3: Configure and Connect
Configure an SSH connection
- In Session → Host Name, enter the Omega’s hostname (
omega-XXXX.local) or its IP address - Ensure Port is
22and Connection type is SSH. - Click Open and accept the security alert when prompted.
Step 4: Credentials
Click Open and enter the credentials when prompted.
By default, the credentials are:
Username: root
Password: onioneer
Step 5: Verify the connection
The Omega shell appears:
root@Omega-XXXX:~#