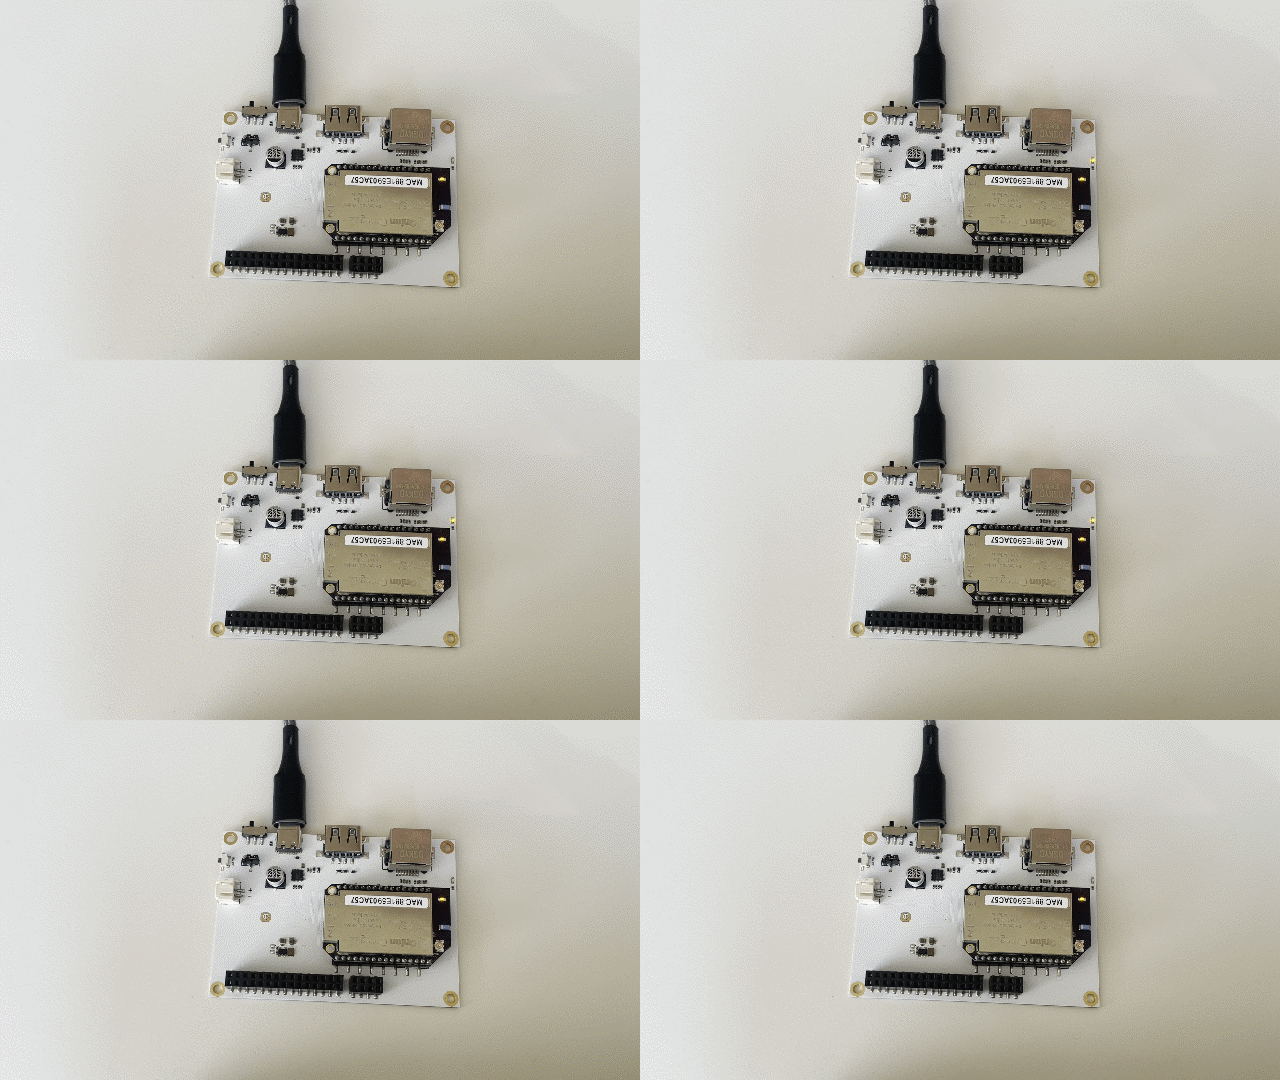
Hello World Demo
In this article, we'll show you how to write and run small a Hello World demo program in Python. The program will blink the built-in user programmable LED on the Omega2 Eval Board - demonstrating how to run a small program in just a few minutes and how to interact with an LED connected to an Omega2 GPIO.
In general, a user programmable LED can:
- Show the code is configured, installed, and running correctly.
- Help with debugging your code in real-time, where you can program it to blink different patterns based on what code is executing.
The commands in this article need be run on the Omega. Check out the previous article on connecting to the Omega's Serial Command Line for details.
Python Blink Program
The goal of the LED Blinker application is to provide a basic example of how to write your own application on Omega2. This will show and provide the basic building blocks needed to create your own unique applications.
For this example, a user programmable LED is available on the following GPIO pins:
- Omega2 Eval Board: GPIO 15 controls the Blue user programmable LED
- Omega2S Eval Board: GPIO 43 controls the Blue user programmable LED
Step 1: Install pre-reqs
Before writing the application, you'll need to install Python and the module we'll use to control GPIOs. Make sure your Omega is connected to the internet before running the OPKG commands. See the previous quickstart step on setting up WiFi if you haven't already.
On the command line, run
opkg update
opkg install python3-light python3-gpio
This will take a few minutes.
Step 2: Create the file
Create an empty file called blink.py on your device. A good place for it is in the /root directory.
touch /root/blink.py
Step 3: Populate the file
Copy the code below and paste it into your blink.py file.
import time
import gpio
import sys
import os

# Define the GPIO pins on different Omega hardware
OMEGA2_EVAL_BOARD = 15 # User programmable LED on Omega2 Eval Board
OMEGA2S_EVAL_BOARD = 43 # User programmable LED on Omega2S Eval Board
EXPANSION_DOCK = 15 # Blue LED in RGB LED on Expansion Dock

# Define the GPIO pin the program should use
LED_PIN = OMEGA2_EVAL_BOARD

# Initialize the GPIO module
gpio.setup(LED_PIN, gpio.OUT)

def turn_on_led():
    """Turn on the LED."""
    gpio.output(LED_PIN, gpio.LOW)

def turn_off_led():
    """Turn off the LED."""
    gpio.output(LED_PIN, gpio.HIGH)

def main(on_time, off_time):
    print("Hello world! Welcome to the Omega2")
    print(f"The LED connected to GPIO{LED_PIN} will now flash with an on time of {on_time} milliseconds and an off time of {off_time} milliseconds.")
    print("Press ctrl+c to end the program")

    try:
        while True:
            turn_on_led()
            time.sleep(on_time / 1000.0)  # Convert milliseconds to seconds
            turn_off_led()
            time.sleep(off_time / 1000.0)  # Convert milliseconds to seconds

    except KeyboardInterrupt:
        print("\nGoodbye! Try running the program with command line arguments next time to adjust the LED on and off time.")
        print(f"\tUsage: python {os.path.basename(__file__)} [on_time_ms] [off_time_ms]")
        print(f"\tExample: python {os.path.basename(__file__)} 2000 3000")
        turn_off_led()

    finally:
        gpio.cleanup()

if __name__ == "__main__":
    # Default on and off times in milliseconds
    default_on_time = 1000
    default_off_time = 1000

    # Read command-line arguments if provided
    if len(sys.argv) > 2:
        on_time = int(sys.argv[1])
        off_time = int(sys.argv[2])
    else:
        on_time = default_on_time
        off_time = default_off_time

    main(on_time, off_time)
If you're not familiar, the vi text editor is included on the Omega by default. To copy the code above:
- Run
vi /root/blink.py - Enter insert mode by pressing
i - Paste the code
- Return to command mode by pressing
esconce - Save and close the file by typing
:wqand pressing enter
Learn more about the small but powerful vi editor online.
Step 4: Adjust the LED Pin in the Program
Depending on the hardware that you're using, you may need to adjust the program to specify a different pin for the LED.
- Omega2 Eval Board: No changes required. The code above is configured to use GPIO15 as the LED pin by default.
- Omega2S Eval Board: Changing the
LED_PINvariable is required. Update theLED_PIN = OMEGA2_EVAL_BOARDline toLED_PIN = OMEGA2S_EVAL_BOARD
The Hello World program also works with external LEDs connected to GPIOs, but you'll need to set the LED_PIN variable based on the hardware you're using.
Step 5: Run the program
To run the Python program, enter the command
python /root/blink.py
Watch the output on the command line, it should look something like this:
root@Omega-FB94:/# python /root/blink.py
Hello world! Welcome to the Omega2
The LED connected to GPIO43 will now flash with an on time of 1000 milliseconds and an off time of 1.
Press ctrl+c to end the program
And watch what happens on your Eval Board!

Step 6: End the Program
Press ctrl+c to end the program and stop the LED blinking.
Step 7: Experiment with the Program
You'll notice after you stopped the program, it printed out some more information on how to adjust the LED on and off time. Try playing around with that.
Step 8: Make your own
You've now run a Python program on the Omega. Now try making your own!